How to Create a Bump Map in Photoshop CC?
In the world of design, bump maps are essential for adding depth and texture to 3D models, making them appear more realistic without increasing the model’s polygon count. Whether you're working on game environments, architectural visualizations, or other 3D projects, mastering bump maps in Photoshop CC can elevate your work by giving flat surfaces the illusion of complexity and detail. In this article, we will guide you through creating bump maps in Photoshop, offering a comprehensive overview of the tools and techniques required to generate high-quality results.

Understanding Bump Maps
Before diving into the creation process, it’s important to understand what a bump map is and how it functions in 3D design. A bump map is a grayscale image that influences how light interacts with a surface in a 3D environment. The darker the areas of the bump map, the less light is reflected, creating shadows or depressions. Lighter areas simulate raised surfaces that reflect light more, giving the illusion of depth. Bump maps don’t physically alter the geometry of the 3D model; instead, they manipulate light to create the appearance of depth.
Setting Up Your Photoshop Document
The first step in creating a bump map is to open Photoshop CC and set up a new document to become your bump map. Start by choosing the appropriate resolution based on the project you are working on. A common resolution for bump maps is 2048x2048 pixels, which strikes a balance between detail and file size.
Next, choose a black-and-white color scheme for the document. You’ll be using various shades of gray to define how light interacts with your 3D model’s surface. Black will represent low areas, while white will represent high areas.

Creating Texture from an Existing Image
A simple way to create a bump map is by starting with an existing image that already contains some texture. For example, you could use a photograph of a rough surface like stone, wood, or fabric. Here’s how you can turn that image into a bump map:
Step 1: Open the texture image in Photoshop.
Step 2: Convert the image to grayscale by navigating to Image > Adjustments > Desaturate. This step removes the color information and leaves you with the texture's tonal values.
Step 3: Use the Levels or Curves tool to adjust the contrast of the image, emphasizing the differences between light and dark areas. The higher the contrast, the more defined the bump map’s effect will be when applied.
Step 4: Optionally, apply a Gaussian Blur to smooth out the texture if you want a more subtle effect.
Creating Texture from Scratch
If you prefer to create a bump map from scratch, you can use Photoshop’s tools to design patterns or textures that mimic the kind of surface you want. Here’s how you can do this:
Step 1: Start with a blank, grayscale canvas.
Step 2: Use brushes or the Filter > Render > Clouds feature to generate organic textures like stone or fabric. Play with the Filter > Noise option to add some randomness to the surface.
Step 3: Use the Dodge and Burn tools to manually add highlights and shadows. The Dodge tool will lighten areas to create raised features, while the Burn tool darkens areas to simulate depressions.
Step 4: Apply additional effects like embossing or inverting if you want to create specific details like cracks or indentations.
Converting Your Bump Map to a 3D-Ready Format
Once your bump map is created, it’s time to save it in a format that can be applied to a 3D model. While bump maps are typically saved in JPEG or PNG formats, you may also want to save them as TIFF files if you need higher fidelity.
Be sure to save the bump map in a grayscale format to retain the necessary contrast between the dark and light areas. Once exported, you can import your bump map into your 3D modeling software and apply it to your object’s surface.
Testing Your Bump Map
Before using the bump map in your project, it’s essential to test how it looks on a 3D model. The bump map should give the illusion of depth when rendered with proper lighting.
Load your bump map into your 3D modeling application, such as Blender, Maya, or 3ds Max, and apply it to a surface. Adjust the bump intensity or strength to fine-tune the appearance of the texture. You can also adjust the lighting setup to see how the surface responds to different light angles, which can help you understand how effective your bump map is.
Refining Your Bump Map
In many cases, the first version of your bump map may need refinement. For example, some areas might look too sharp, while others might appear flat. You can return to Photoshop and make further adjustments:
Use the Gaussian Blur to smooth out overly sharp areas.
Adjust the contrast using the Levels or Curves tools to emphasize certain features.
Paint manually over parts of the bump map to add more detail, especially if you want to simulate specific effects like wrinkles, cracks, or wear and tear on the surface.
By continually testing and refining the bump map, you’ll achieve a more realistic and convincing result.
Advanced Techniques: Adding Depth with Normal Maps
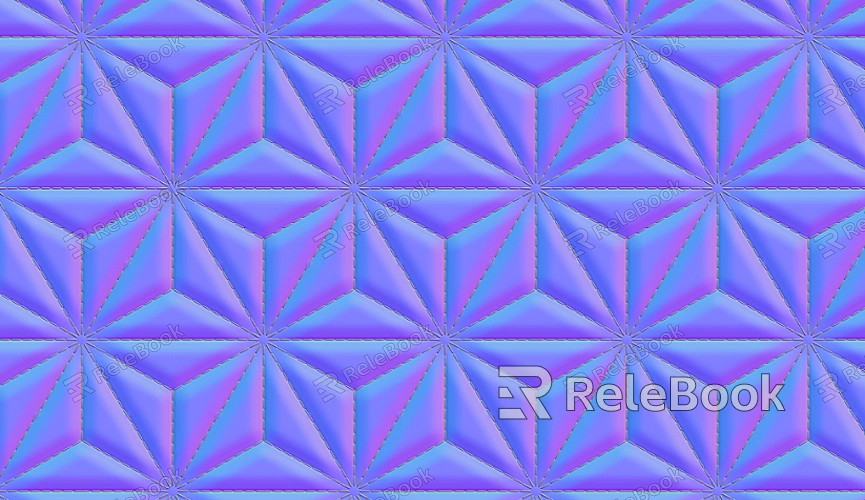
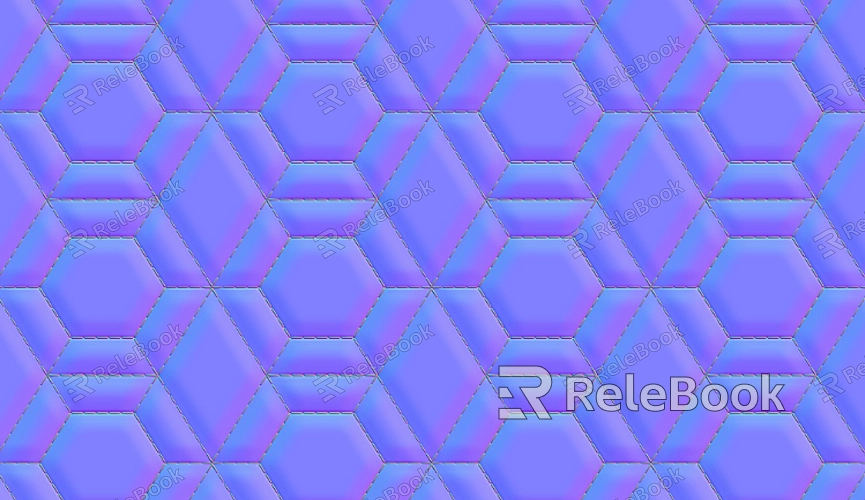
While bump maps can simulate depth, they have limitations. For more detailed and realistic surface detail, consider creating normal maps, which provide more nuanced information about how light interacts with a surface.
Photoshop CC also can generate normal maps from bump maps. This process is more advanced and involves converting the grayscale bump map into a colored normal map using Photoshop’s 3D workspace and various filters.
Exporting for Use in 3D Applications
Once your bump map is ready and tested, it’s time to export it for use in your 3D modeling application. The exported bump map should be optimized for use in real-time rendering applications or high-quality renderers. Common formats for bump maps include:
JPEG: Ideal for low-- to medium-quality applications.
PNG: A lossless format with transparency support.
TIFF: Higher quality with more detail, suitable for high-end projects.
Each 3D application may require specific file formats or settings, so it’s important to consult the software’s documentation to ensure compatibility.
Creating bump maps in Photoshop CC is a straightforward yet powerful way to add depth and realism to your 3D designs. By understanding the fundamental techniques and refining your skills with regular practice, you can elevate the visual quality of your models. With bump maps, you can create complex, textured surfaces without the need for high polygon counts, making them a valuable tool in various design industries. To explore further, visit the Relebook website, where you can download 3D models and textures to incorporate into your projects.
FAQ
What is the difference between a bump map and a normal map?
A bump map alters the light reflections on a surface to simulate depth, whereas a normal map contains more detailed information about how light interacts with a surface’s finer details. Normal maps offer a more realistic illusion of depth and surface detail compared to bump maps.
Can I use color images to create bump maps?
Color images can be used, but bump maps are typically grayscale. To convert a color image into a bump map, it’s best to desaturate it first. The grayscale values will then control the depth perception of the surface.
How do I adjust the intensity of a bump map in my 3D software?
Most 3D modeling applications allow you to adjust the bump map’s intensity or strength. You can do this by manipulating the bump map’s influence on the material’s shading properties or by adjusting the depth settings within the software.
Do I need a high-resolution bump map?
The resolution of the bump map depends on the level of detail needed in your project. For most applications, a resolution of 1024x1024 or 2048x2048 pixels is sufficient. Higher resolutions are necessary for ultra-detailed textures but keep in mind that larger maps can increase the rendering time and memory usage.
Can bump maps be used in animation?
Yes, bump maps are commonly used in animation to give surfaces a realistic appearance. By adjusting the lighting and camera angles, bump maps can enhance the texture and surface details of animated characters or objects.

